Helmut Dersch, FH Furtwangen
November 9, 2001
Colour and brightness variations often make it difficult to combine photographs into panoramic images. The individual source images remain distinguishable. This effect counteracts any effort to improve panorama resolution by using many photographs as sources. There are several origins for these variations even if the photographer takes care to keep constant exposure for each image:
Most of the above mentioned parameters lead to spatially
uniform changes in colour and brightness. There are influences which lead
to non-uniform changes, most importantly radial light fall-off in wide-angle
lenses. The correction of these errors is possible using the Panorama
Tools plug-in
Correct with the Radial Luminance option
which, however, is not covered in this article.
Due to the many possible sources for colour variations it is usually quite difficult to manually correct them. It is helpful to work with multilayer formats like PSD and use one layer for each remapped source image as created by PTStitcher (output option PSD_mask). Any of the colour manipulation tools of Photoshop may be used to visually adjust the layers, but this is not only tedious but also requires skills, knowledge, and experience. Adjusting one parameter in one location may lead to mismatch in previously well adjusted other areas etc. Automatic adjustment tools are therefor desirable. PTStitcher (version 2.6) provides a new approach to this task.
Previous versions of Panorama Tools included a correction
tools which uses a straightforward algorithm:
An image (A) to be adjusted to another one (B) is analyzed
in the overlapping region. Pixels at identical positions in A and B are
compared with respect to their colour values red, green, and blue. A set
of adjustment parameters is optimized in a least square fit to minimize
the differences of these values. This set of parameters was choosen to
be brightness and contrast in all three channels, ie a total of 6 parameters.
This algorithm is still available in the Panorama Tools plug-in adjust.
The practical experiences with this method were mixed: While some panoramas were fitted quite well, some others looked awfully, actually much worse than the uncorrected original. Two main problems were identified:
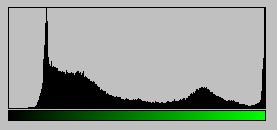
The quality criterium now is the matching of histograms of colours in the overlapping region of images A and B. The histogram denotes the number of occurances of each colour value as a function of this colour value, and can be visualized in many graphics programs. An example plotted using Photoshop is shown below:
If two images are perfectly colour balanced, their histograms are identical. The algorithm now included in PTStitcher calculates gradation-curves for each colour channel which match the corresponding histograms. These gradation curves are then used to correct image B. There are several advantages of this method:
Results:
The program has been tested with partial and full spherical panoramas made from real-world photographs. As mentioned above, a perfect correction can only be excepted under certain assumptions, and the tests reveal how many of these assumptions hold. Generally, the results are very good, both in terms of measurable quality as well as the visual appearance. The deviation parameter specifying the mismatch of the histograms can usually be reduced by at least a factor of 3, often by more than 10, although there are cases with smaller improvements.
Visually, the results are very good when stitching small numbers of images. See this example of a partial panorama composed of three photographs, one corrected, and the other not. The slight red-shift of the center image relative to the left image is difficult to correct visually, while PTStitcher handles this very well, also the slight variations of the right image. The only visible mismatch remains at one point in the sky to the right, probably caused by light fall-off.
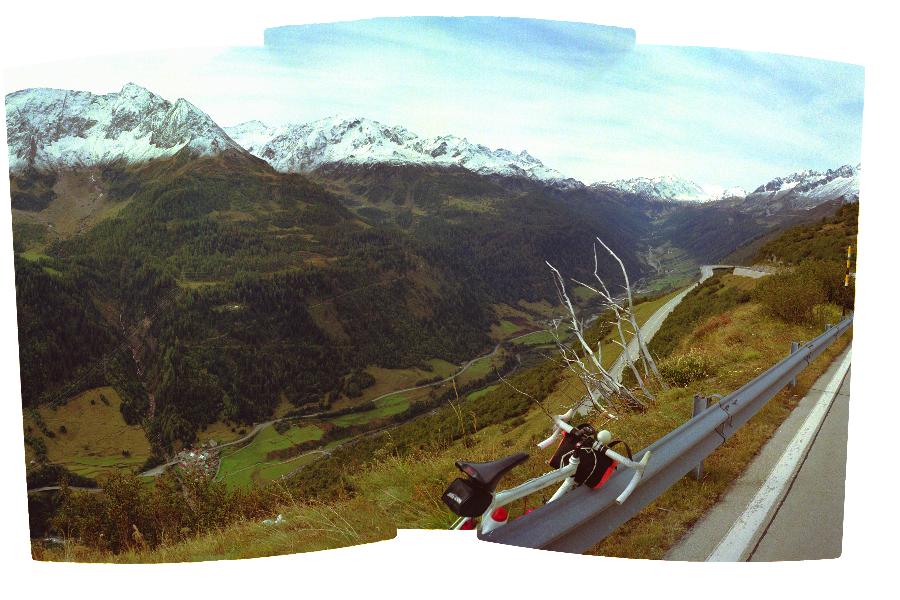
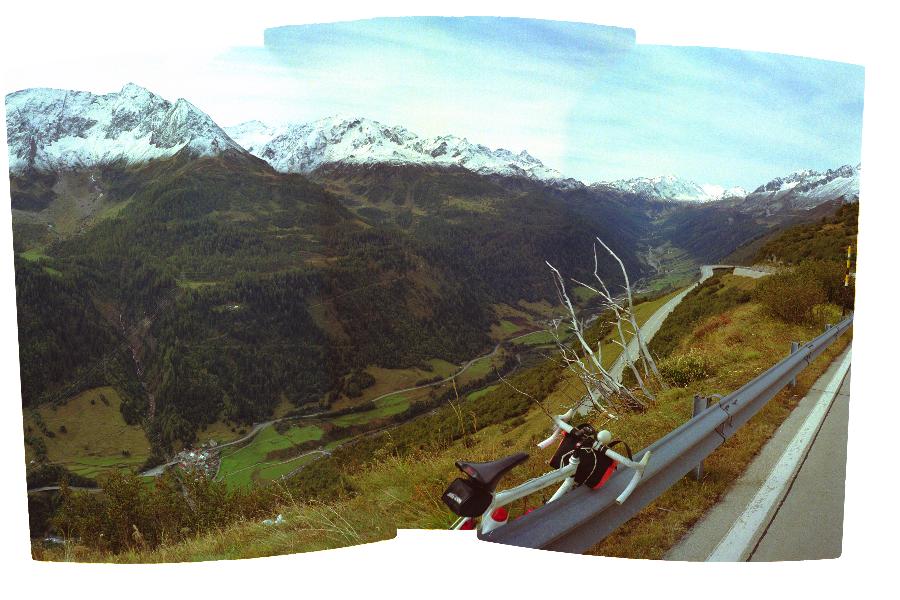
Multiple image panoramas are also handled quite well as long as the chain of corrections (Image A relative to image B relative to C etc) remains short. An example is the 'old' PTStitcher tutorial, which can be downloaded from here. Use the following script to create an uncorrected panorama with the images of the tutorial, while this version creates a corrected one. The results speak for themselves, see the reduced images below.
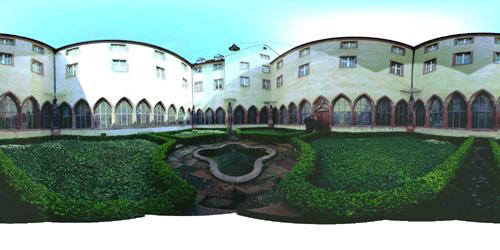
No Correction

Automatic Correction 'k0'
This panorama consists of 7 images, 6 in a row plus one
cap. The cap image overlaps with all other images, and is corrected and
fixed early in the process. This improves the result. If a cylindrical
panorama without cap image is adjusted, the results are worse. This is
due to accumulation of small errors along the mentioned correction chain,
which ultimately causes degradation in images at the end of the chain.
Using Colour Correction
Colour correction is controlled by using the parameter 'k' followed by the number of the image which serves as anchor. This parameter has to be placed in the 'p'-line of the stitcher script. A suitable p-line may read:
p w2000 k0 n"PSD_mask"
In this case colour correction will occur with respect to image 0, which is the first image in the list of images following in the script. See the example mentioned above for more details.
There is one important point to consider when using colour correction: All overlapping pixels are used for determining the correction curves. This overlap is taken directly from the remapped images before stitching seems are inserted. The user has to make sure that these images contain only real pixels, and any junk originating from scanning or incomplete coverage of the lens is masked. This is very important since otherwise the images are adjusted to match some meaningless frame, which is mathematically feasible, but not what is really desired. Either the original images are cropped to cut any frame (directly or using the C-option in the script), or a mask is used in one of two ways:
The beta release of PTStitcher 2.6 writes a text file
debug.txt
which
contains information regarding the colour correction process including
the curves used for correction, and the achieved quality value. This version
only handles 24 and 32bit-pixel sized images.
Copyright 2001 Helmut Dersch der@fh-furtwangen.de